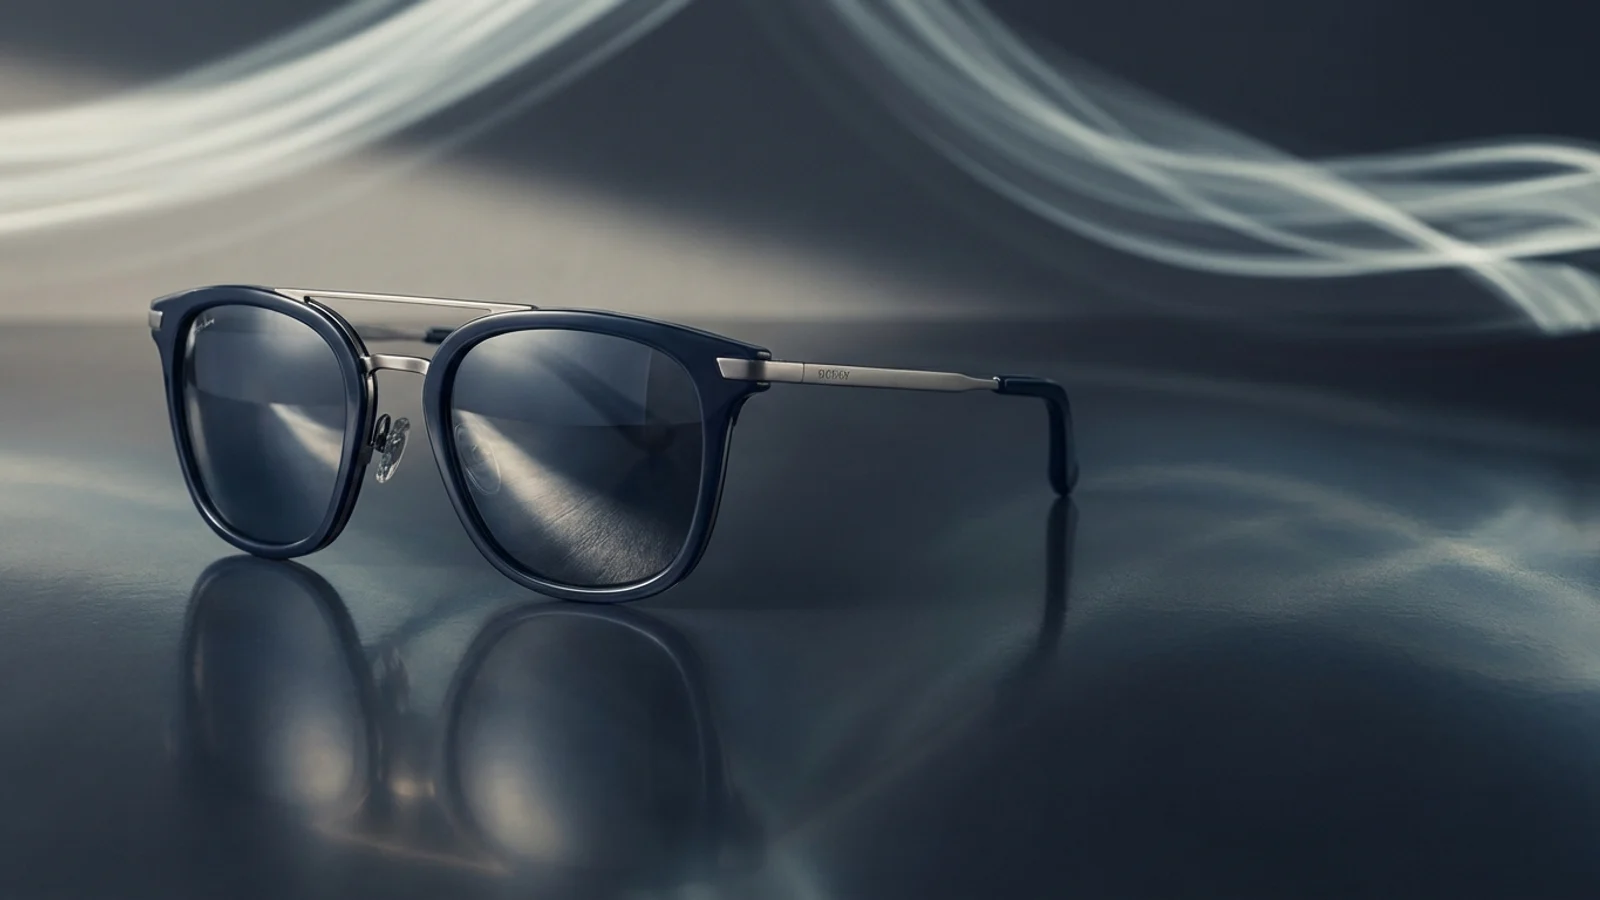
1. Using light in a way that overwhelms the product
The most common mistake in jewelry photography is mistaking brightness for quality. In reality, for products like rings, earrings, and necklaces, overly harsh light ruins the cut of the stone, the cleanliness of the metal surface, and the product’s true premium feel. Especially in products with small stones, blown-out light areas can lower the perceived value of the item. The shopper sees that the product is shiny but can’t make out its detail.
The right approach is to use controlled, softened light. There should be reflections on the metal and stone surfaces that are visible but not distracting. When shooting a jewelry product photo, the aim should not be to “make it shine” but to show the craftsmanship. A quality piece of jewelry feels premium when its details are visible.
2. Never showing scale
One of the main problems shoppers face with jewelry is not being able to picture the size of the product in their mind. Especially for products like earrings, rings, and necklaces, a photo of the item sitting alone on a white background is often not enough. When scale information is missing, the product can be perceived as smaller or larger than expected, and this creates dissatisfaction.
For this reason, alongside close-up product shots, model-based usage or additional frames that convey a sense of scale are also important in jewelry visuals. Technologies for putting jewelry on a model become very valuable here. That’s because when the shopper sees how the product looks on a person, they make the purchase decision more comfortably.
3. Settling for just a single frame
In the jewelry category, trying to sell a product with a single frame is often insufficient. Details such as the side view of a ring, how an earring sits on the ear, and how a necklace drapes over the neck should be provided in the second and third visuals. The shopper wants to understand not just the jewelry’s design, but also the brilliance of the stone, the clasp structure, and the overall posture.
For this reason, the jewelry product visual set should be thought of in many layers. When a flat product shot, a close-up detail, model-based usage, and, if needed, a set combination are presented together, the likelihood of conversion increases. You shouldn’t show the jewelry as merely an object; a sense of usage needs to come into play.
- Flat product photo
- Close-up stone and metal detail
- Model-based usage
- Set combination display
4. Making the product unrecognizable through retouching
Retouching is necessary in jewelry visuals, but excessive retouching can lead to a trust problem. The color of the stones changes, the metal surface looks different than it is, and as the product is made flawless, realism is lost. If the shopper feels a difference between what they saw in the visual and what they actually received when the product arrives, this directly harms brand perception.
Whether AI or manual editing, it doesn’t matter; the real goal is to preserve product accuracy. Cleanup, sharpening, and light adjustment can be done, but the character of the product should not be changed. In the jewelry industry, trust is more important than shine.
Sources